Showing posts with label Strawberries. Show all posts

Saturday, May 24, 2014

Getting Back Into The Groove


 I felt out of place the other day in my own kitchen. I took a few months off away from baking and blogging and I almost forgot how to do it! I post pics to my Instagram (monica_h30) account daily, but it's been awhile since I've actually picked up my DSLR to photograph a recipe with the intent to blog. It was exciting and kind of nerve wracking at the same time. Even hubby was surprised at what I was doing. It turns out, blogging is kind of like riding a bike. Or I assume it is, it has been YEARS since I actually got on one :-) I pulled props from around my kitchen and out of my vintage glass stash and it all came together. 


These scones came about because I had really ripe berries and heavy cream to use up. I put my spin on it and did things a little differently than the original recipe and they turned out delicious. They're also quite patriotic looking with their red, white and blue-ness! Once cooked, the strawberry flavor intensifies and produces little pockets of  jam-like goodness. The scone itself is barely vanilla and tender, with crunchy sugared tops. Enjoy with a pat of butter or whipped cream (or "keem" as Hayden likes to call it) and more fresh fruit. These are perfect for long, lazy weekends. 

Happy Memorial Day! 


StrawBerry and Cream Scones
adapted from Smitten Kitchen

  • 2 1/4 cups all-purpose flour
  • 1 Tablespoon baking powder
  • 1/4 cup granulated sugar
  • 1/2 teaspoon salt
  • 6 Tablespoons cold unsalted butter, cut into small cubes
  • 1 cup chopped ripe strawberries
  • 1/3 cup fresh blueberries
  • 1 teaspoon vanilla extract
  • 1 cup heavy cream plus more for brushing the tops
  • sanding sugar or turbinado sugar for sprinkling


Preheat oven to 425 degrees F. Line a large baking sheet with parchment paper.

In a large bowl, whisk flour, baking powder, sugar and salt together. Mix to combine.

Add the cubed, cold butter to the flour. Using a pastry blender or two knives, cut the butter into the flour mixture until the butter is pea sized and the mixture is crumbly. 

Gently stir in the strawberries and blueberries so that they are coated in the flour mixture. Stir in the heavy cream and vanilla extract just until the mixture comes together. 

Place the dough onto a floured work surface and knead two to three times until a mass is formed, being careful not to over work the dough. Pat the dough into a flat disc about 10-inches wide and about 1-inch thick. 

Using a sharp knife, a bench scraper or a pizza wheel, divide the round into 8 equal triangles. Place the triangles onto the parchment lined baking sheet, about 1-2 inches apart. Brush the tops with additional heavy cream and sprinkle with sugar. 

Bake for 17 to 20 minutes or until the scones are golden brown. Cool slightly before serving. 

Makes 8 scones. 


This little booger hovers over me while I'm taking photos in the kitchen. He could not wait til I was done so he could dig in. I set my camera down and he helped himself to several fingers full of "keem". Then he said "take picture" and stuck out his tongue. He was very proud of himself! How could I resist those eyes and that curly top?

Friday, March 15, 2013

Sunshine In A Muffin


Ever see a recipe that looks good then someone else makes it and put their twist on it and it seems so much more enticing? That's what happened to me with this recipe. This recipe comes from two fantastic and talented bakers, Jane (Jane's Sweets & Baking Journal) and Lululu (lululu at home). Between their pictures and descriptions of this beautiful muffin (and my adoration of anything with strawberries and cream cheese) these muffins were bound to be whipped up in my kitchen at some point. I made these around Valentine's Day and they were just LOVE-ly. 


These muffins were awesome. I simplified the instructions just a bit and added orange zest to brighten up my muffin batter. Strawberries and oranges are just so summery to me- I love that combo even more than strawberries and lemon. You get that same vibrant punch from the zest but it's much more aromatic and not as tart.


I think I liked these so much because they were so.....creamy. I'd describe the muffin to you, but Jane said it best when she said the cream cheese center "just barely evokes the flavor of cheesecake, and it's subtle enough so that it doesn't make the muffins too rich, nor does it make you feel like you're eating something that belongs on a dessert cart. It also doesn't firm up into a thickened streak within the muffin, but melds nicely into the batter itself, augmenting the moistness of the muffin's soft interior." Well said my friend. Well said. 

Strawberry-Orange Cream Cheese Muffins 


Cream Cheese Mixture: 
  • 4 oz. cream cheese, room temperature
  • 1/3 cup granulated sugar
  • 1 Tablespoon vanilla extract
Muffins:
  • 2 cup all-purpose flour
  • 3/4 cup granulated sugar
  • 2 teaspoons baking powder
  • 1/2 teaspoon salt
  • 1 cup milk
  • 1/2 cup unsalted butter, melted and slightly cooled
  • 1 Tablespoon orange zest
  • 1 teaspoon vanilla extract
  • 2 large eggs
  • 1 cup fresh strawberries, diced into small pieces
Preheat oven to 350 Degrees F. Line muffin tin with paper liners and set aside. 

For The Cream Cheese Mixture: In a small bowl, mix together the cream cheese, sugar and vanilla until smooth. Set aside.

For The Muffins: In a large bowl, combine flour, sugar, baking powder and salt. Stir and set aside.

In a medium bowl, whisk together milk, melted butter, orange zest, vanilla and eggs until incorporated.

Using a spatula, stir the milk mixture into the flour mixture. Stir until just combined but do not overmix.

Spoon  the batter into the prepared tins, filling them no more than 1/2 full.

Scatter a few pieces of strawberry on top of each one.

Top the strawberries with a teaspoon of cream cheese mixture, a tablespoon more of muffin batter, and finally a few more pieces of strawberry.

Bake the muffins for about 25 minutes, until they’re light golden on top and a toothpick inserted in the center comes out clean.

Let the muffins cool in the pan for a few minutes before removing them to a rack to cool. 

Makes about 15 muffins.


Thursday, August 30, 2012

Summery Birthday Cupcakes & A Winner!


My sweet angel boy Sam would have turned 6 years old this past August 15th. It's hard to believe that that much time has passed. Every year we celebrate by baking him up a cake or cupcakes, and going to the cemetery for a balloon release. This year was no different only Hayden was with us and he sent the balloons up to his big brother. He will always be my first born even if he's not here. And I will always celebrate his life as long as I'm his momma. This year it was with strawberry lemonade cupcakes. 


Strawberries and lemons just scream summer to me and these were the perfect refreshing treat. They were sweet and tangy, bright and loaded with lemon zest in the cupcake, in the filling and in the buttercream. I found the recipe at Four Points Foodie and adapted it to my liking. I can't say that I've seen a cupcake filled with fresh diced lemony strawberries before so I was definitely intrigued. These were delicious and perfect for celebrating a sixth birthday. 


There are a few more days of Summer left and if you're looking for a seasonal recipe to whip up for your Labor Day weekend, these might be the cuppies for you! For the winner of the "Whatever Happened To Sunday Dinner?" cookbook head to the bottom of this post. 
Strawberry Lemonade Cupcakes adapted from Four Points Foodie

Printer Friendly Version

For The Cupcakes:
  • 1/4 cup (1/2 stick) unsalted butter, room temperature
  • 1/2 cup sugar
  • 1 egg
  • 1/2 tsp vanilla bean paste
  • 3/4 cup flour
  • 1/4 cup milk
  • 1/8 tsp of salt
  • 1/2 tsp baking powder
  • 1 Tbsp fresh lemon juice
  • Zest of 1 lemon
For The Strawberry Lemon Filling:
  • 1/4 cup diced strawberries
  • 1 1/2 tsp sugar
  • Zest of 1 lemon
For The Lemon Buttercream:
  • 1/4 cup (1/2 stick) unsalted butter
  • 1 tsp lemon zest
  • 1 cup powdered sugar
  • 2 tsp lemon juice
For The Cupcakes: Preheat oven to 350 degrees and line 8 cupcake tins with paper cups.  

In a mixer, cream butter until light and fluffy then add the sugar and mix well. Add the egg and the vanilla  then stir.  Alternately add the flour and the milk, mixing well after each addition. Add the salt and baking powder then scrape down the sides of the bowl. Add the lemon juice and zest then stir well.   

Scoop into cupcake papers filling no more than 3/4 full. Bake for 20-22 minutes or until a toothpick inserted into the centers comes out clean.  Remove from oven and allow to cool completely on a wire rack. 
For The Strawberry Filling: In a small bowl, mix the strawberries, lemon zest and the sugar and let sit for 10 minutes.   

For The Buttercream: In a medium bowl, cream butter until light and fluffy. Add lemon zest then slowly add the powdered sugar til well combined. Mix well then add the lemon juice and beat until fluffy.

To Assemble The Cupcakes: Cut the center of each cupcake out with a sharp paring knife. Spoon strawberry lemon filling into hole then using a large tip, frost over the filling on each cupcake.   

NOTE: Makes 8 cupcakes. Recipe can be doubled. 


The winner of "Whatever Happened To Sunday Dinner?" by Lisa Caponigri chosen by random.org is my friend Heather of Kitchen Concoctions. Yay! 

Sunday, April 1, 2012

Belgian Waffles for Easter Brunch


I learned something while making these waffles. I learned the difference between a standard American waffle and a Belgian waffle and I thought I'd share that information with you as well. I always thought that Belgian waffles were the same as American waffles just thicker, but that's only part of it. American waffles are raised solely with baking powder while Belgian waffles get their rise from yeast. The yeast also lends a tangy flavor and lightness to the waffle. Since the Belgian waffles are thicker, the grooves are deeper which accomodate all kinds of fruits syrups and sweetened whipped cream.


We've made these waffles several times since discovering them in Williams-Sonoma's Breakfast book. This is also the same cookbook that I found the delicious Sour Cream Coffee Cake. The first time we made them we only made one batch, which didn't last very long. Now when we make them, we double or triple the recipe and freeze the leftovers- they reheat wonderfully in the toaster. You noticed I said "we" right? That's right, Mr. H likes these so much even he helps make them. I heat the wet ingredients and he measures and stirs out the dry. We're a good team when it comes to making waffles.


This is a triple batch of waffles.

One of the things that I like about these waffles, other than the taste, is that most of the prep work is done the night before you make them. Overnight, the yeast mingles with all the other ingredients and does it's thing, making the batter light and airy. In the morning all you have to do is whip up the egg whites and fold it into the batter and breakfast is done in no time. These really are the best waffles I've ever made or eaten. If you try them, I hope you love them as much as we do!


Belgian Waffles from Williams-Sonoma's Breakfast
Printer Friendly Version
  • 1 cup all-purpose flour, sifted
  • 1 Tablespoon granulated sugar
  • 1/4 teaspoon salt
  • 1/2 teaspoon active dry yeast
  • 1/2 cup whole milk
  • 1/2 cup sparkling mineral water
  • 1/4 cup unsalted butter, melted and still warm
  • 1/2 teaspoon vanilla extract
  • 1 large egg yolk
  • 2 large egg whites
  • pinch of cream of tartar
The night before you plan to serve the waffles: In a large bowl. whisk together the flour, granulated sugar, salt and yeast. In a small saucepan over medium-high heat. combine the whole milk and the sparkling water and heat to lukewarm (105 degreesF). Whisk in the melted butter and vanilla. Pour into the dry ingredients and whisk until smooth. Cover tightly and let stand overnight at cool room temperature.

The next morning: Preheat a Belgian waffle iron. Whisk the egg yolk into the batter. In a large clean bowl, using an electric mixer on high speed, beat the egg whites and the cream of tartar until soft peaks form. Thoroughly stir about one-third of the beaten whites into the batter, then fold in the remaining whites, without overmixing.

When the waffle iron is hot, ladle 3/4-1 cup of batter into each waffle section and spread with a wooden spoon so the grids are evenly covered. Close the iron and cook according to the manufacturer's instructions until the waffle exterior is golden brown and the inside is light and springy, 4-5 minutes. (The first waffle may not be perfect. Adjust the amount of batter and cooking time if necessary.)

Keep waffles warm in a low oven. Serve with whipped cream, fresh fruit or maple syrup.

Makes about 2 large waffles.

Happy, happy waffles!

Monday, June 20, 2011

The Cake Slice: Baking With Maranda

I have a special "Cake Slice" cake for you today. "What makes it so special?" you may be asking yourself. It's special because I got to co-bake with my fellow Cake Slice Baker- Maranda of Jolts & Jollies! I first met Maranda in person back in December when she was visiting family and friends over the holidays. We wanted to bake together but time was limited. Lucky for me, she just moved back to Texas a few weeks ago, so hanging out together in the kitchen was finally possible.

Every month we get to vote on a selection of cakes and usually there is a definitive winner. However, this month there was a tie between Lime Chiffon Cake and Fresh Strawberry Cake with White Chocolate Chips so we got to choose which one we wanted to bake. Maranda made one and I made the other. So today, you get two recipes for the price of one!

Maranda actually made her cake a couple times. She had issues with the first one and wasn't so pleased with it, but the second one came out beautifully- it was tall, light and airy. She even added a glaze to it to send it over the top. The step by step recipe for the Lime Chiffon Cake can be found on her blog- Jolts & Jollies.

My strawberry white chocolate chip cake came together really quickly and effortlessly. I did forget to dust my strawberries in flour before I folded them in, but it turned out just fine. The fresh strawberry flavor came through, there were sweet little buttery pockets from the white chocolate chips, and the lemon zest, was just enough to brighten it up without making it taste like lemon. It was really moist from the addition of the sour cream and I thoroughly enjoyed this cake. So much that I may or may not have eaten it for breakfast a couple days in a row :-) It was a little plain jane looking, but a little sweetened whipped cream and a strawberry garnish go a long way.

Strawberry White Chocolate Chip Cake from Cake Keeper Cakes

Printer Friendly Version

  • 1 large egg
  • 1 large egg yolk
  • 1/2 cup sour cream
  • 1/2 teaspoon grated lemon zest
  • 2 teaspoons pure vanilla extract
  • 1 1/2 cups all-purpose flour
  • 1 1/2 teaspoons baking powder
  • 3/4 teaspoon baking soda
  • 1/4 teaspoon salt
  • 6 Tablespoons unsalted butter, softened
  • 1 cup sugar
  • 8 oz. strawberries, stemmed and sliced
  • 1 cup white chocolate chips or chunks

Preheat oven to 350 degrees F. Grease an 8-inch square baking pan and dust it with flour, knocking out any extra. Set aside.

Combine the egg, egg yolk, sour cream, lemon zest and vanilla in a large glass measuring cup and lightly beat. Combine 1 1/4 cups. flour, baking powder, baking soda, and salt in a medium mixing bowl.

Combine the butter and sugar in a large mixing bowl and cream with an electric mixer on medium-high speed until fluffy, about 3 minutes, scraping down the sides of the bowl once or twice as necessary.

With the mixture on medium-low speed, pour the egg mixture into the bowl in a slow stream, stopping the mixture once or twice to scrape down the bowl.

Turn the mixture on low speed and add the flour mixture, 1/2 cup at a time, scraping down the sides of the bowl after each addition. After the last addition, mix for 30 seconds on medium speed.

Combine the strawberries and remaining 1/4 cup of flour in a medium bowl and toss to coat. Fold the flour covered berries along with the chocolate chips into the batter with a rubber spatula.

Scrape the batter into the prepared pan and smooth the top with a spatula. Bake the cake until it is golden and a toothpick inserted in the center comes out clean, 45 to 50 minutes. Let the cake cool in the pan for about 5 minutes, invert it onto a wire rack, and then turn it right side up on a rack to cool completely. (I let mine cool in the pan). Cut into 9 squares and serve.

Store uneaten cake in a cake keeper or wrap in plastic and store at room temperature for up to 3 days.

Be sure to check out all the other Cake Slice Bakers' cakes!

Wednesday, May 25, 2011

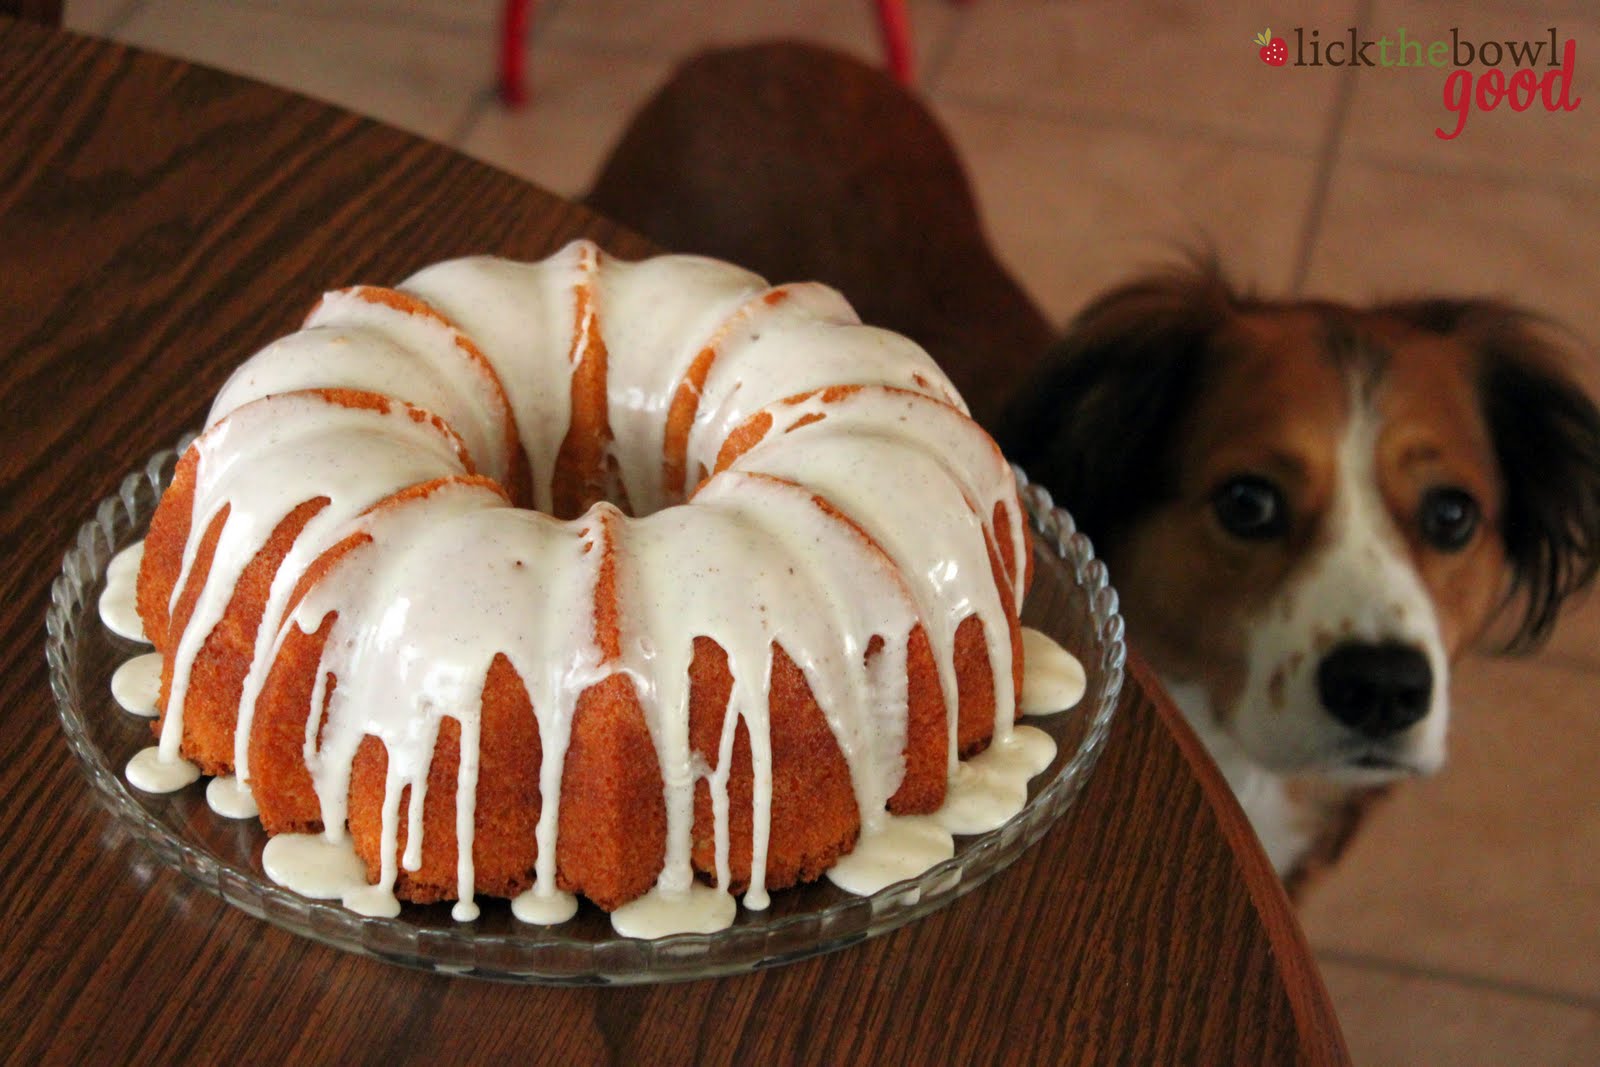
Very Vanilla Bundt For My Baby Brother

My baby brother's birthday was a couple weeks ago. Only he's not a baby anymore, he's 16 years old! It's amazing how fast they grow up. I was looking at wedding photos the other day while cleaning out the guest room (preparing it for the nursery) and I saw this little boy who was my ring bearer. A sweet boy who was no more than 4 feet tall and now he's my height. His birthday fell on a weekday, but that didn't stop him from getting his birthday wish. He wanted all of his family to get together and have dinner together at The Olive Garden. And so we made it happen. I brought the cake.

I wasn't really planning on baking him a cake, but I had plenty of time that day to make it so I started texting my mom, asking what he'd like. I had several elaborate cakes in my head, some with tunnels of cheesecake running through it, others covered in a silky ganache. My mom said he mentioned something about a pineapple upside down cake a few days prior, I could do that. But then she said she'd just pick up a cake at the grocery store so I didn't have to bake anything. Um, no. Not gonna happen! So I text my brother while at school and asked him what his dream cake would be like. His response was not what I was expecting. It was only one word: vanilla.

It just so happens I made a vanilla bean cake for my old boss' mother about a week prior, only she wanted peaches in it, so I made it into a Peach Upside Down Cake. It looked and smelled great, the batter tasted amazing, but I didn't get a chance to taste the final product. I licked a beater, gave another to Mr. h and vowed to make that cake again. I just didn't think it would be so soon after the other. If I was going to make a vanilla cake, I wanted it to be loaded with vanilla flavor. The cake and glaze contains both vanilla extract as well as vanilla beans, speckled throughout. It is positively vanilla!

Mr. H is a huge chocolate fan and will pass up almost anything vanilla, but even he liked this cake. It was wonderfully aromatic and tasty to boot. It had a light, tender and moist crumb which I was thrilled about, because it seems so many "yellow" or butter cakes turn out dense or dry. I wanted a slightly larger cake so I increased the recipe by one and a half times and baked it in my 15 cup Anniversary Bundt. The birthday boy was pleased with his cake and even more thrilled that his family got together to celebrate his birthday. That just tells you the kind of young man that he is growing into, to wish for something like that. That's why I love him so much. Happy birthday Aaron!

Vanilla Bean Bundt Cake adapted from Bon Appetit

Printer Friendly Version

Cake:

  • 1 teaspoon bourbon
  • 1/2 teaspoon vanilla extract
  • 1 vanilla bean, split lengthwise
  • 1 1/2 cups all purpose flour
  • 2 teaspoons baking powder
  • 1/4 teaspoon salt
  • 1/2 cup plus 6 tablespoons unsalted butter (1 3/4 sticks), room temperature
  • 3/4 cup sugar
  • 1/4 cup (packed) golden brown sugar
  • 2 large eggs
  • 1 large egg yolk
  • 1/2 cup buttermilk

Glaze:

  • 1 cup powdered sugar
  • 2 teaspoons (or more) whole milk
  • 1 teaspoon vanilla extract
  • 1/2 vanilla bean, split lengthwise

For the cake: Position rack in center of oven and preheat to 325°F. Butter and flour a standard Bundt pan, then spray pan with nonstick spray. Pour bourbon and vanilla extract into small bowl. Scrape seeds from vanilla bean into bourbon-vanilla mixture; stir to blend well (reserve scraped vanilla bean for another use). (If you don't have or want to use bourbon, just substitute with vanilla extract).

Whisk flour, baking powder, and salt in medium bowl to blend.

Using electric mixer, beat butter and both sugars in large bowl until light and fluffy. Add eggs and egg yolk 1 at a time, beating until well blended after each addition. Beat in bourbon-vanilla mixture.

Add flour mixture in 2 additions alternately with buttermilk in 1 addition, beating just until blended after each addition. Transfer batter to prepared pan; smooth top evenly (batter will come only halfway up sides of pan).

Bake cake until tester inserted near center comes out clean, about 55 minutes. Cool in pan on rack 15 minutes. Invert cake onto rack and cool completely.

For the glaze: Whisk powdered sugar, 2 teaspoons milk, and vanilla in small bowl to blend, adding more milk by 1/4 teaspoonfuls if glaze is too thick to drizzle. If glaze is too thin, add a little more sugar until it's the consistency desired. Scrape the seeds from the vanilla bean into the glaze and whisk until the seeds are incorporated throughout the glaze.

Place cooled cake on serving dish. Using spoon, drizzle glaze over cake in zigzag pattern. Let cake stand at room temperature until glaze sets, about 15 minutes.

NOTE: Cake can be made up to 1 day ahead. Cover with cake dome and let stand at room temperature.

P.S. My fabulous friend gifted me with a new logo for my blog. I'll tell you all about it in the next post.

I hope everyone has a safe Memorial Day Weekend!

Monday, April 25, 2011

A Special Spring Dessert

This pretty and pink dessert was lovingly made for my mother-in-laws' birthday a few weeks ago. I don't think she'd appreciate me telling you how old she turned, so I won't :-) But I can say she is as sophisticated as this dessert looks. The moment I saw this recipe on Coleen's Recipes, I knew I'd be making it for her birthday. It's light and refreshing and it has my MIL's name written all over it. Even the name- Strawberry Chantilly- sounds like her. I guess you'd have to know her to know that, so just take my word for it. If you're looking for something unique and different, this is the dessert for you.

I keep calling this a dessert, and not a pie or cake, or something else, because that's what it is. It's almost like a mousse, because it has whipped cream folded into it, but it's light and fluffy from the meringue as well. It's a frozen treat that can be made in a 9x13-inch pan or in a springform pan as I have done. I got that idea from Coleen, and I think it makes for a prettier presentation. It's cool and creamy, sweet and bursting with strawberry flavor. All the while, contrasting with the buttery and nutty shortbread crust. If you're not a fan of nuts, you could leave them out. It slices nicely straight from the freezer too. If it's too hard, just let it rest on the counter for a few minutes.

One of the best things about this dessert, other than the taste, is how quickly it comes together. You dump the ingredients in the mixer and let it do all the work for you. This would be a great make ahead dessert for dinner parties, or for Mother's Day (May 8th), leaving you with more time to spend with your guests and loved ones. A simple garnish of fresh strawberries or plump berries dunked in dark chocolate compliment this nicely and make it extra special. Now that I think of it, I think almonds in place of the pecans and raspberries instead of strawberries would be just as lovely.

Strawberry Chantilly slightly adapted from Coleen's Recipes

For the Crust:

  • 1 cup all purpose flour
  • ¼ cup brown sugar
  • ½ cup cold unsalted butter
  • ½ cup chopped pecans

For the Filling:

  • 2 egg whites
  • 1 cup granulated sugar
  • 2 cups fresh strawberries
  • 1 cup heavy whipping cream
  • 1 teaspoon lemon juice
  • 2 drops red food coloring, optional

For the crust: Cut the cold butter into the flour and sugar until crumbly, then stir in the chopped pecans. Press mixture into the bottom of a 9x13-inch baking dish and bake at 300 for 20 minutes (or press mixture into the bottom and halfway up the sides of a springform pan and bake at 325 for 25 minutes). Set the pan on a rack to cool completely before filling with strawberry chantilly. I put mine in the refrigerator to cool faster while I made the filling.

For the Filling: Pulse the strawberries in a food processor til mostly pureed but still a little lumpy. Place the pureed strawberries, the egg whites, sugar and lemon juice in a bowl of your electric stand mixer. Beat on high for ten minutes. Add food coloring, if using, and mix for a few more seconds till the color is fully incorporated.

In a different bowl, beat the heavy whipping cream until you get stiff peaks. Gently fold, by hand, the whipped cream into the strawberry meringue mixture.

Pour the filling into the baked and cooled crust and cover well. Freeze for at least 6 hours, preferably overnight.

Slice and serve frozen chantilly with additional strawberries, if desired.

Happy Birthday Nonie!

Wednesday, January 12, 2011

Ripe Banana Remedy

What do you do with speckled overly ripe bananas? I'm sure many of you are thinking banana bread, right? I don't love banana bread (gasp!) so I usually toss them into fruit smoothies or make this strawberry Jell-o salad. I like bananas as a snack, but I like them firm with a little green still on them. Once they turn brown, I'm out! Usually if they're really black they get thrown away. Don't hate me banana bread lovers! I've tried freezing them with and without the peel but wasn't not a pretty site, in fact it made me dislike ripe bananas even more.

This is one recipe that I don't get tired of though and it calls for 2 overly ripe mashed bananas. Since I usually only buy 3 at a time, this works out perfectly so I can eat one and not worry about the others turning colors. And my husband loves it and requests it all the time so it's a win-win situation. I featured this Jell-O salad before on LTBG a couple years ago but it had one lone picture and it was ugly so no one ever commented. ha ha! I'm sharing it again because it really is good and I think you'd like it.

I usually make this in a Pyrex bowl, but I've made them in small clear glasses for a prettier, single-serving presentation as well. Either way you serve it, it tastes the same. The gelatin is more substantial and has body from the banana and crushed pineapple that are mixed into it. The frozen strawberries kinda break things up a bit so not everything is too smooth and baby food like. But it's the sour cream layer that I love. It's not sweetened at all but when you eat it with the strawberry Jello it almost tastes like cream cheese. I hope you'll give this one a try- it's nothing fancy, just good stuff.

Strawberry Jell-O Salad previously seen HERE

Printer Friendly Version

  • 1 6 oz. box strawberry jell-o
  • 1 1/2 c. boiling water
  • 8 oz. can crushed pineapple, drained
  • 2 ripe bananas, mashed without lumps
  • 10-12 whole frozen strawberries
  • 1 c. sour cream

In a medium bowl pour boiling water over strawberry jello. Mix til gelatin is fully dissolved. Add in crushed pineapple, and bananas. Add in strawberries and mix.

In a small bowl, stir sour cream til creamy and loosened a bit.

In a medium bowl, pour half the gelatin mixture (see note). Carefully ladle the sour cream over the jell-o, then pour the rest of the mixture over the sour cream.

Cover and refrigerate for at least 3 hours.

NOTE: To help the jello set up a bit quicker, I put the bowl in freezer for 5 minutes before adding the sour cream layer and the additional jello on top. This just helps keep the layers separated but it's not necessary.

____________________________________________

And just because I think it's funny, here's a picture of Mr. H and Autumn sharing a father/daughter moment while taking a break from varmint hunting in our backyard*.

*No animals were harmed in the making on this Jello :-)
Related Posts with Thumbnails