Showing posts with label Evaporated Milk. Show all posts

Wednesday, December 4, 2013

Brownie Points!


When we were kids, my step mom, Olivia, used to make my brother and me caramel brownies. She didn't make them very often and I remember them being really good (they were my brother's favorite) but I thought maybe it was a difficult recipe so they were only made for special occasions. I was wrong! She shared the recipe with me and they could not be simpler to make. I took the liberty to tweak things here and there (that's what I do) because the amounts were a little vague and I like to be specific when it comes to baking. Specific amounts in baking lead to consistent results, am I right? Here we go!


Pillsbury® recently sent me their new seasonal line of cake and cookie mixes just in time for holiday baking. I received Chocolate Peppermint Premium Cookie Mix, Traditional Sugar Premium Cookie Mix, Dark Chocolate Premium Cake Mix as well as Peppermint Frosting and Funfetti Frostings in Rudolph Red and Garland Green. My step mom's recipe for caramel brownies called for German Chocolate cake mix, but I opted for the Dark Chocolate Cake mix for these rich and gooey brownies. To learn more about these products, visit Pillsbury on Facebook, PillsburyBaking.com and Pillsbury on Pinterest

Dark Chocolate, semisweet chocolate chips, gooey caramel, crunchy pecans. You know these were good...and decadent! These brownies are for sharing. After making these and being left with an entire pan of brownies, I now understand why my step mom only made these about 1-2 times a year. They are dangerous and so much better than I remembered. I'm typically a "plain jane" brownie person and don't like anything but cocoa in my brownies but these are excellent. Thanks for the recipe and the trip down memory lane Olivia :-) I hope you'll seek out these new Pillsbury® products and make these brownies!

Dark Chocolate Caramel Nut Brownies 
adapted from my step mom, Olivia Luna

  • 14-16 oz. package caramels (50-60 caramels)
  • 2/3 cup evaporated milk
  • 1- 15.25 oz. box Pillsbury Dark Chocolate Premium Cake Mix
  • 1 cup unsalted butter, melted
  • 1/2 teaspoon vanilla extract
  • 3/4 cup semisweet chocolate chips
  • 3/4 cup chopped pecans

Preheat oven to 350 degrees F. Spray a 9x13-inch baking dish with non-stick cooking spray and line it with a sheet of parchment paper, allowing the paper to hang over the edges. Spray the paper once again with non-stick spray and set aside.

In a medium saucepan, combine the caramels and 1/3 cup of evaporated milk. Stir occasionally over medium heat until the caramels melt and the mixture becomes smooth. Turn off heat and allow to cool slightly while you prepare the brownie batter. 

In a large bowl, combine the dry cake mix, melted butter, vanilla extract and the remaining evaporated milk. Mix until well combined. 

Press half of the brownie batter into the bottom of the prepared pan. Bake for 6 minutes. 

Remove the pan from the oven and gently and evenly drizzle the caramel mixture over brownie base. Evenly distribute the chocolate chips and the chopped pecans over the caramel. Crumble the remaining brownie batter evenly over the nuts and chocolate and return back to the oven. 

Bake for an additional 20-22 minutes. It will be hard to tell when it's done because the brownies will be really gooey in the center and don't firm up until they have cooled completely, but don't bake any longer than the recommended time. 

Cool completely until the brownies have reached room temperature. Using the handles of the overlapping parchment paper, lift the brownies out of the pan. Cut the brownies into squares. Store in an airtight container. 


I was provided with product samples and compensation by Pillsbury, though the opinions I express here are my own.

©/® The J.M. Smucker Company. Pillsbury is a trademark of The Pillsbury Company, LLC, used under license.

Friday, August 20, 2010

Our Bunny and A Cake

It's Cake Slice Time! And the cake chosen for this month was Tres Leches Cake from Southern Cakes by Nancie McDermott. If you've never had one, a tres leches cake is generally a white sponge cake soaked in a sweetened three milk mixture and topped with whipped cream. I had every intention in making the recipe as the recipe author intended but I have a chocolate loving husband and he turned his nose up to the milky vanilla version. He requested I make a chocolate version and so I did. I made minor changes to the recipe, like substituting cocoa in place of some flour and adding vanilla to the batter instead of lime zest in the milk sauce, but it added a big punch of flavor and changed the cake completely. My husband loved it!

Before I tell you more about this cake, I wanted to thank you all for your kind words regarding the loss of our sweet fuzzy bunny, August. We don't know the cause of his death, all we know is that is happened quickly. All his life he's had respiratory issues but the doctors were always perplexed by him. He'd express mucus from his nose and he'd gasp for air but as soon as he cleared it, he was fine. It happened periodically for really no reason at all and we'd help him along by suctioning and wiping. We changed his diet, we gave him different meds and we eliminated things one by one in his cage thinking it was environmental. This became a part of his life but he wasn't suffering or in pain- it was just an annoyance, kind of like allergies. We tried all kind of things to make his life better and made many midnight trips to the emergency vet and no one ever knew how to "fix" him.

On Wednesday morning he was having another episode. I held him and stroked his fur. He seemed fine then all of a sudden he began to thrash his legs and tried to escape from my grip. We tried to calm him down so he wouldn't hurt himself, but something was wrong. He kicked off of me and fell. I picked him up and noticed he was no longer struggling but he was still breathing. Moments later as Mr. H was holding him, he passed away and it just seemed to happen so fast. We think his passing was a result of being over stressed- they can can work them selves up and give themselves heart attacks along with the fall, though it was a very short one. He was more than a rabbit- he was a member of our family. We got him after the boys died and he's been a joy in our lives when we were at such a low point. His life, as I see it, was cut short, but while he was a part of our family he was very well taken care of and loved wholeheartedly. We miss him so much.

Now it's hard to jump from talking about the passing of our bunny to talking about a cake, so I will just wrap it up by saying that this cake was rich, creamy, delicious and wasn't too sweet. I added chocolate to the milk mixture, but leaving it plain or adding vanilla or almond extract would be great too. The recipe didn't yield enough milk mixture in my opinion so I've increased that amount in the recipe below. I topped my cake with sweetened cocoa cream and served it with berries. The recipe below reflects my changes- I cut the recipe in half and added chocolate, but if you're interested in the larger (9x13) vanilla version, click here.

Chocolate Tres Leches Cake adapted from Southern Cakes

Printer Friendly Version

Adapted from this Original Recipe

Cake:

  • 1 cup + 2 Tbsp. all-purpose flour
  • 6 Tbsp. cocoa powder
  • 2 teaspoon baking powder
  • 1/2 cups (1 stick) unsalted butter, softened
  • 1 cup sugar
  • 2 eggs
  • 1/2 teaspoon vanilla extract
  • 1/2 cup milk

Three Milks:

  • 1 cup milk
  • 1 cup evaporated milk
  • 1/3 cup sweetened condensed milk
  • 1 oz. melted chocolate or chocolate syrup (optional)

Cake: Preheat oven to 350 degrees F. Grease and flour 8x8-inch pan.

In a medium bowl, combine the flour, cocoa and baking powder and stir with a fork to mix.

In a large bowl, combine the butter and sugar and beat with a mixer at high speed to mix well.

Adds the eggs one at a time, beating well each time and stopping to scrape down the bowl now and then until the mixture is light, fluffy and smooth. Add the vanilla.

Add one third of the flour mixture and then half the milk, beating at low speed each time just until the flour or milk disappears into the batter. Add another third of the flour and the remaining milk, then the remaining flour in the same way.

Pour the batter into the prepared pan and bake for 35-40 minutes (mine took 40 mins), until the cake is golden brown, springs back when touched lightly in the center and begins to pull away from the sides of the pan.

While the cake bakes, make the milk sauce. You want the cake to still be warm when you add the milk mixture.

Milk Sauce: Combine the milk, sweetened condensed milk, evaporated milk and the semisweet chocolate or chocolate syrup (if using) in a medium saucepan. Heat gently over medium heat, stirring often until the mixture forms a smooth, steaming hot sauce. Do not let it come to a boil.

Allow to cool for 10 minutes before using.

To Finish: Cool the cake in the pan on a wire rack for 10 minutes. Poke holes with a toothpick all over the cake.

Slowly pour the warm milk sauce over the warm cake, in stages stopping to let the cake absorb the sauce before adding more. You may not need it all but you can add more later if you need it.

Let the cake stand at room temperature for one hour before covering and refrigerating. (I let it chill overnight, but a few hours is plenty). Top with cocoa whipped cream (recipe below) and serve it straight from the pan.

Cocoa Whipped Cream from Monica H

  • 1 cup heavy cream
  • 2 Tablespoons sugar
  • 2 Tablespoons cocoa powder

In a medium bowl, combine heavy cream, sugar and cocoa powder. Mix at medium speed til creamy and fluffy, but don't overbeat or you'll be left with a curdled mess.

Top the cooled tres leches cake with the sweetened cocoa cream. Serve with fruit if desired.

I was going to link this post to The Cake Slice Bakers blog so you could go check out their cakes, but for some unknown reason that blog isn't up and running at the moment. When that issue gets resolved, I'll link it up. Until then, I hope everyone has a nice weekend.

Monday, November 30, 2009

The Last Piece

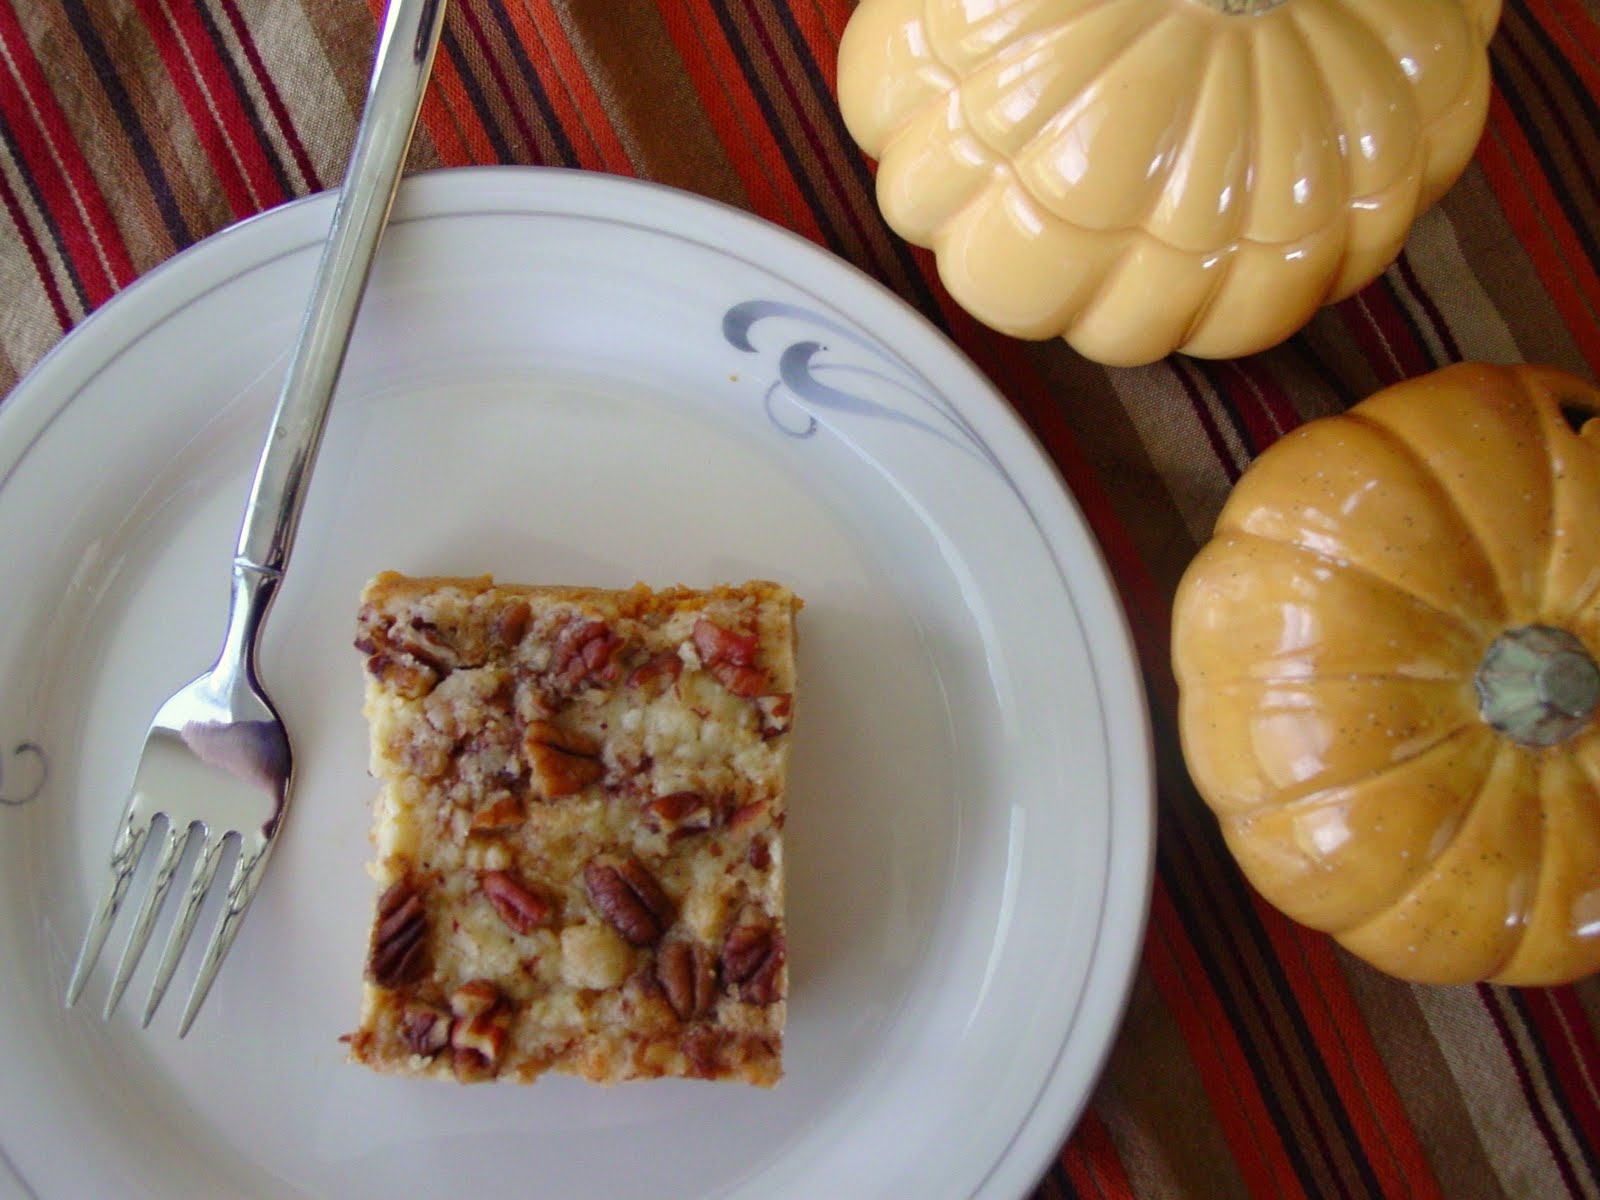
I love reading Mutts! It's one of my favorite Sunday cartoons. And this one is so true- there's always room for one more piece of pumpkin pie or on this cake pumpkin pie cake. This is a dessert I made along with Chocolate Chip Pecan Pie to take to my MIL's for Thanksgiving dinner.

Ingrid of 3B's reminded me of this wonderful pumpkin dessert. She called me up one day oohing and ahhing over a recipe called pumpkin cobbler. I thought "ooh that sounds interesting" and the more she described it I knew exactly what she was talking about. She was talking about a recipe I had tried several years ago that I called Pumpkin Pie Cake. I've seen people call it pumpkin crunch and pumpkin dump cake. Whatever you call it, I'm sure you'll agree with me that it is delicious.

This is a very simple recipe that consists of a couple small cans of pumpkin, a few eggs, a can of evaporated milk, spices, a box of yellow cake mix, butter and nuts. It's basically a pumpkin pie custard on the bottom, then you sprinkle a cake mix over the pumpkin, then drizzle butter over it. Top with nuts if desired. It's delish! Thank you Ingrid for reminding me about this dessert!

The custard is creamy just like the pie minus the crust and the topping is crunchy, buttery, sweet, and nutty. I like it cold just like my pumpkin pie but it's equally good at room temperature. The hardest part is waiting for the cake to cool completely. And this dessert stays fresh for several days. A double bonus.

Pumpkin Pie Cake from 3B's and Cooks.com
  • 2 - 15 oz. cans pumpkin puree
  • 1 - 12 fluid oz. can evaporated milk
  • 3 eggs
  • 1 cup white sugar
  • 1/2 tsp. salt
  • 4 teaspoons pumpkin pie spice
  • 1 -(18.25 oz.) package yellow or spice cake mix
  • 3/4 cup butter (see note)
  • 1 cup chopped walnuts or pecans

Preheat oven to 350°F (175 degrees C). Lightly grease one 9x13 inch pan.

In a large bowl, combine pumpkin, evaporated milk, eggs, sugar, salt, and pumpkin pie spice. Mix well. Pour batter into the prepared pan.

Sprinkle the dry cake mix evenly over the pumpkin mixture. Melt the butter or margarine, and drizzle it over the cake mix. Sprinkle nuts over the top.

Bake for 55 to 60 minutes, or until done.

NOTE: I upped the butter from 3/4 cup butter to 1 full cup.

Spice cake would be good here too. Just ask Ingrid :-)

Wednesday, October 14, 2009

The Milky Way

Ingrid and I have baked up some more cupcakes together from Martha's Cupcakes! This time it was her choice and she chose Tres Leches Cupcakes-- a sponge [cup]cake baked into foil liners (that's important!) that is doused in a sweet mixture of three milks, then topped with sweetened whipped cream with a dusting of cinnamon.

I made these to take to my mother's house for dinner. No surprise there as she loves tres leches cake! I really liked the milk mixture- a combination of sweetened condensed milk, evaporated milk and heavy cream. I also subbed a little flavored creamer for the heavy cream for a subtle flavor. It was really quite tasty.

The hardest part was waiting for the cake to absorb the milk mixture. It took about an hour to get all the milk absorbed into the cake. You have to brush the cake with the milk mixture until it's all gone. It's a little sticky and messy but nothing that's not easily cleaned up. Once I was done with the cupcakes, I placed them on paper plates lined with waxed paper to keep them from sticking.

I was surprised by how sturdy the cupcakes actually were. I thought for sure they'd get soggy and fall apart after a day, but they didn't. In the cookbook, it says that these should be eaten within a day of making them, but we ate ours for 3 days. They were just as good on day 3 as they were on the first day and not at all soggy.

Tres Leches Cupcakes from Martha's Cupcakes

For the cake:

  • 6 large eggs. separated, room temp.
  • 1/4 teaspoon baking soda
  • 1/4 teaspoon salt
  • 1 cup sugar
  • 1/2 cup (1 stick) unsalted butter, melted and cooled
  • 1 cup all-purpose flour, sifted

For the milk mixture:

  • 1- 14 oz. can sweetened condensed milk
  • 1- 12 oz. can evaporated milk
  • 3/4 cup heavy cream

For the whipped cream:

  • 2 cups heavy cream, very cold
  • 1/4 cup confectioner’s sugar
  • ground cinnamon, for dusting

Preheat oven to 325°F. Line standard muffin tins with paper lined foil liners.

In the electric or stand mixer, beat the egg whites with the baking soda and salt, until you get soft peaks. Turn mixture on low but keep beating and add the egg yolks, one by one, then add the sugar. Beat til completely combined.

Turn off the mixer and add fold in melted butter, with a spatula until incorporated. Add the flour in four additions, folding carefully just until incorporated.

Divide the batter evenly between the liners, filling each halfway. Bake for 25 minutes, rotating halfway through until golden brown. immediately poke the cakes with a skewer, making several holes.

In a bowl, whisk the sweetened condensed milk, the evaporated milk and the cream until well blended. With the cupcakes still in their tins, brush milk mixture over the cupcakes, repeating until all the liquid has been used. Allow cupcakes to fully absorb mixture. Once cool top with sweetened whipped cream.

Make the whipped cream: Whisk heavy cream until soft peaks form. Add sugar and whisk until combined.

Distribute dollops of the cream on the tops of the cupcakes and sprinkle cinnamon to taste. Cover and refrigerate for at least 30 minutes and up to 3 days.

Make about 20 cupcakes.

Head on over to 3 B's to see Ingrid's cupcakes!

Monday, May 4, 2009

Cinco de Mayo Two-fer: A Fiesta!

Living in Texas means we celebrate Cinco de Mayo- Spanish for the 5th of May. It is not a nationally recognized holiday in the US or in Mexico, but it should be. Cinco de Mayo is not the recognition of Mexican Independence (like most think), which is September 16th, but the commemoration of the Mexican army's defeat from the French at the Battle of Puebla on May 5, 1862.

Because Texas is adjacent to Mexico, there is a lot of Mexican influence here. That also means we have access to a lot of good food, appropriately called Tex-Mex cooking. Think tacos, burritos, enchiladas, tamales, tostadas, rice, beans, homemade fresh salsas, pico de gallo, guacamole, homemade flour and corn tortillas, flan and lots of margaritas! (Oh, I'm getting hungry!) I grew up eating this great food, so it's nothing new to me. I was raised by my grandma and she made 3 square meals a day for her family. This kind of food is my comfort and I hope you make it yours.

A few years ago I managed a bridal boutique (before you all swoon and say "oooh, how fun!" know it was hell!) and I had a bride who was getting married on Cinco de Mayo, which I believe was a weekday. She got married on 5-05-05 and celebrated with a party of close friends and family, eating great casual food and drinking great Mexican beer--with lime of course. I think that's a great idea, though you don't have to get married to enjoy what the Mexicans have to offer.

These recipes are very simple, I hope you'll make one of them soon- like tomorrow!

Tostadas
  • corn tortillas
  • vegetable oil for frying
  • seasoned ground beef
  • refried beans, canned or homemade
  • grated Cheddar cheese
  • lettuce
  • tomato
  • sour cream or guacamole

Preheat oven to 350 F. Set a cookie sheet next to your stove to collect hot tortillas.

In a small frying pan, pour enough veg/canola oil to cover the bottom. Heat oil to med-high heat. Carefully slide tortilla into hot oil with tongs. When tortilla puffs up and turns golden, flip it. They don't take long. Place on cookie sheet and transfer to oven to keep warm while you're preparing the rest of your ingredients.

Take tostada shells from oven. Be careful, they're HOT! Apply a thin layer of refried beans to each tortilla, then top with seasoned ground beef. Sprinkle with cheese and return to oven til cheese is melted.

Top with shredded lettuce, tomatoes, more cheese and maybe even a dollop of sour cream or homemade guacamole.

NOTE: You can buy tostada shells in your grocery store next to the taco shells. I seasoned my ground beef with diced onion, minced garlic, cumin, paprika, garlic and onion powder, salt and pepper. You can use a packet of seasoning if you wish. I also used canned refried beans.

~~~~~~~~~~~~~~~~~~~~~~~~~~~~~~~~~~~~

My Mom's Tres Leches Cake
  • 1 box white cake mix
  • 3 large eggs
  • 1 cup water
  • 1/4 cup vegetable oil
  • 1 tsp. vanilla extract
  • 1 14 oz. can sweetened condensed milk
  • 1 12 oz. can evaporated milk
  • 1 cup milk
  • sweetened whipped cream
  • strawberries for garnish

Preheat oven to 350 degrees F. Spray a 9 x 13-inch pan with cooking spray and set aside.

In a large bowl, beat the cake mix, eggs, water, oil and vanilla until smooth. Pour into prepared pan. Bake 30 to 40 minutes or until golden brown. Remove cake from oven and let cool 10 minutes.

Meanwhile, stir together the sweetened condensed milk, evaporated milk and regular milk til well blended. Poke cake all over with a skewer and pour milk mixture all over cake, pressing lightly to make sure milk is completely absorbed. It may seem really full, but it will all get absorbed.

(My mom concentrating and my crazy(!) teenage brother whipping the cream. It's a family effort.)

Refrigerate cake 1-2 hours til cool to the touch and the cake has absorbed all the milks. Top with sweetened whipped cream and fresh strawberries.

NOTE: My mom usually doubles this recipe and bakes it in a huge Pyrex. It's also really good with pineapple and chocolate cake mixes.

Don't forget the pinata! Ole'

Sunday, April 13, 2008

Fluffy and Dense

This recipe for pound cake comes from my neighbor. She doesn't really cook or bake much. In fact she doesn't really eat much either. She eats ice cream by the boat load and can drink anyone under the table (she provided the Irish Cream recipe), and she complains because she's fat. Whatever. She's about as wide as my arm. But she did make this cake for a neighbor several months ago, then realized that she was diabetic. So she brought a large portion of it over to me and I loved it. It's creamy, and dense, but it's fluffy too, unlike most pound cakes- almost like an angel food cake. Almost.

Pound Cake from A.S.
  • 3 c. flour
  • 3 c. sugar
  • 1/2 t. baking powder
  • 6 large eggs
  • 1 tsp. lemon extract
  • zest of one lemon (optional)
  • 1 tsp. vanilla extract (optional)
  • 2 sticks unsalted butter
  • 1/2 c. Crisco shortening
  • 1 c. evaporated milk

Cream butter, shortening (both at room temp), and sugar in a large bowl. Add eggs one at a time til fully incorporated. Blend in flour, baking powder, milk, zest and extract. Beat on medium speed til well blended. Pour into greased tube/bundt pan and bake for 80-90 minutes in a preheated 325 degree oven.

NOTE: I mixed this by hand instead of using a hand mixer. It worked out fine, by wrist grew increasingly tired as the batter got thicker. I recommend a stand mixer if you have one, or a hand held to make things easier (and quicker).

The original recipe did not call for vanilla extract, but I like to add it to most things I bake. If you do not want/like lemon, double the amount of vanilla or use a different flavor extract and omit the vanilla. But do not double the amount of lemon extract. Grated zest would be a nice addition. Orange would be nice too. Then you could drizzle it with chocolate sauce for a whole new take on pound cake. My mother would love that for Mother's Day.

Also, I don't know if it was the size of my tube pan, but I had a little leftover batter, so I made mini muffins. My neighbor makes this in loaf pans instead of a tube pan.

I wanted to dress this recipe up for our Easter buffet, so I made a quick glaze for it and filled the center with fresh berries. Again this is optional.

Glaze

  • 1 c. powdered sugar, sifted
  • Juice of half a lemon
  • up to 1 tbsp. milk

I mixed the lemon juice with the sugar and blended with a whisk. I added enough milk to thin it out to "drizzle" consistency. The amount of milk needed will depend on how much juice your lemon provides. If it's too thin, then add a bit more sugar.

NOTE: Make glaze only after cake is cooled completely and drizzle over cake immediately. The glaze sets up quickly.

Monday, January 7, 2008

For Grandma

I made this for Christmas, because my Grandma really likes pumpkin bread. It was good and moist, but I'm so picky about pumpkin bread and I always compare it to my favorite brand, that usually nothing measures up. We (my Grandma and I) used to visit a local coffee shop and we'd sit for about an hour and talk. We had such great times there. That really helped me too, when I needed a shoulder to cry on after my losses. When we'd go, I always used to sneak in a couple slices of pumpkin bread from the above bakery. They closed recently [the coffee shop] so we haven't been able to do that in a while. So, since she has needed comfort (since she was diagnosed with cancer), I wanted to do something special for her by making this bread. My Grandma liked it so much, she horded it all to herself, so that must say something about this recipe. I love you Grandma! Old Fashioned Pumpkin Nut Loaf
  • 2 c. all purpose flour
  • 2 tsp. pumpkin pie spice
  • 1 tsp. cinnamon
  • 2 tsp. baking powder
  • 1 tsp. salt
  • 1/2 tsp. baking soda
  • 2 large eggs
  • 1 can (15 oz.) canned pumpkin
  • 3/4 c. granulated sugar
  • 1/2 c. packed brown sugar
  • 1/2 c. evaporated milk (NOT sweetened condensed)
  • 2 tbsp. vegetable oil
  • 1/4 c. chopped nuts (optional)

Preheat oven to 350 degrees F. Grease 9x5- inch loaf pan.

Combine flour, pumpkin pie spice, baking powder, salt and baking soda in medium bowl. Blend eggs, pumpkin, granulated sugar, brown sugar, evaporated milk and vegetable oil in a large mixing bowl. Add flour mixture to wet ingredients. Mix until just moistened. Pour into prepared loaf pan; sprinkle with nuts (optional ingredient) and pat them down slightly into batter.

Bake for 60-70 minutes or until wooden toothpick inserted in center comes out clean. Cool in pan on wire rack for 10 minutes. Remove to wire rack to cool completely.

NOTE: I doubled this recipe and it worked out just fine. I did not add nuts since there are nut allergies in my family, but I'm sure it would be equally delicious. I also baked them slightly longer (about 5-10 minutes extra) than the recipe suggested. If you like more of a "spice" flavor in your pumpkin bread, then add extra cinnamon or pumpkin pie spice. If you don't have pumpkin pie spice, click here to make your own blend.

This bread is much better the next day. Wrap it in plastic wrap and allow the crisp edges to soften- yum! Also, it needs to be refrigerated if it's not going to be eaten within 2 days.

Related Posts with Thumbnails